An in-depth look into the Perka merchant welcome kit design process.
POSTER CONCEPT 1
Perforations and Diecuts
Customizable poster that can have the perforated Perka Beacon symbol punched out to wrap around the actual Perka Beacon hanging on wall. Cutout bursts on bottom.
Poster can also be separated into 2 pieces depending on available store wall space:
POSTER CONCEPT 2
Angles + Perks
Photoshoot fun with mini erasers:
Acrylic Stand
Testing out concepts, along with the design of the paper inserts, that will be place inside this stand.
Final version of the acrylic stand after incorporating the printer’s notes and a little Easter egg in the free space on the bottom of the stand.
PROTOTYPES AND TESTING
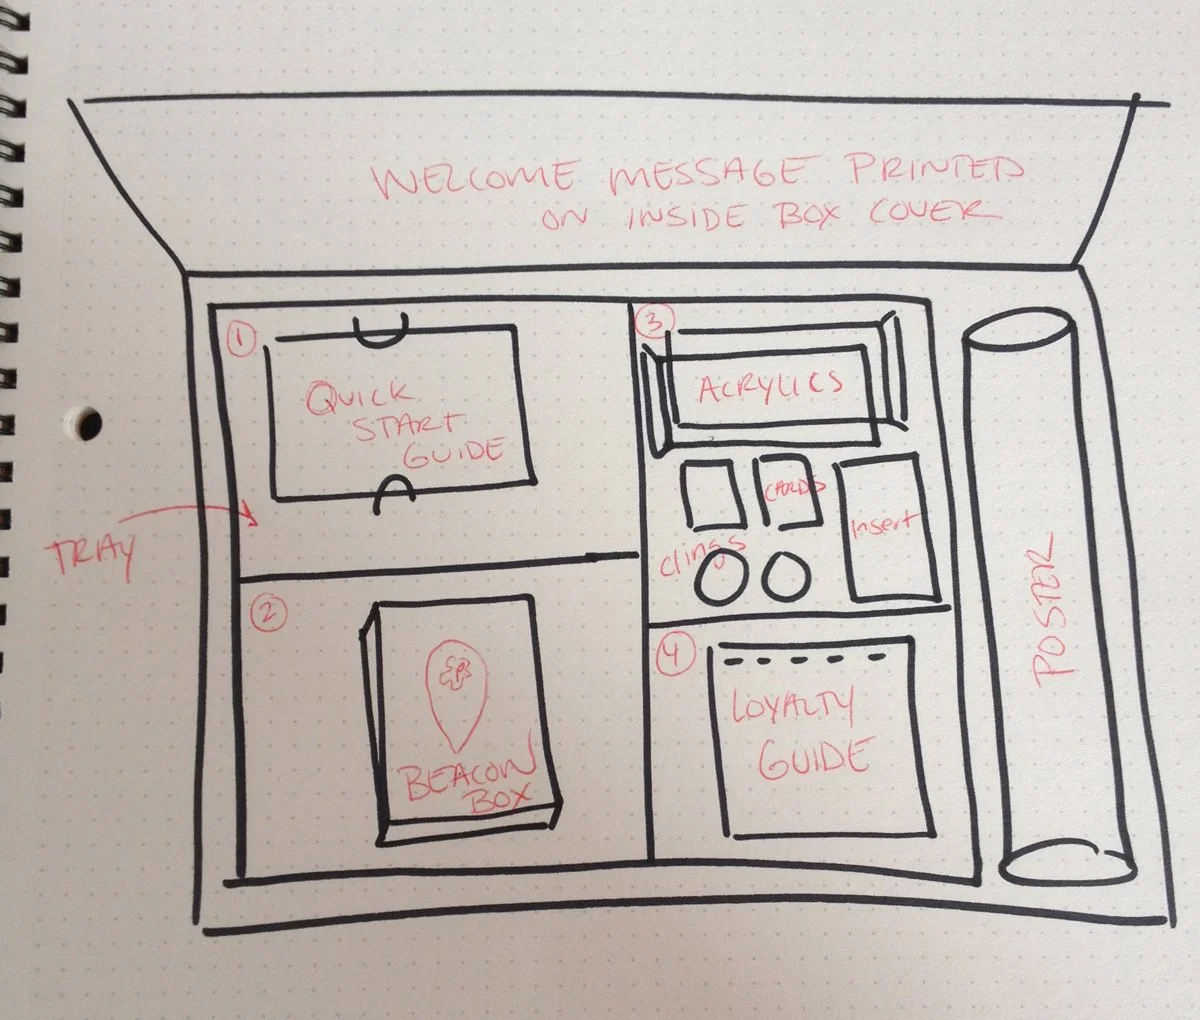
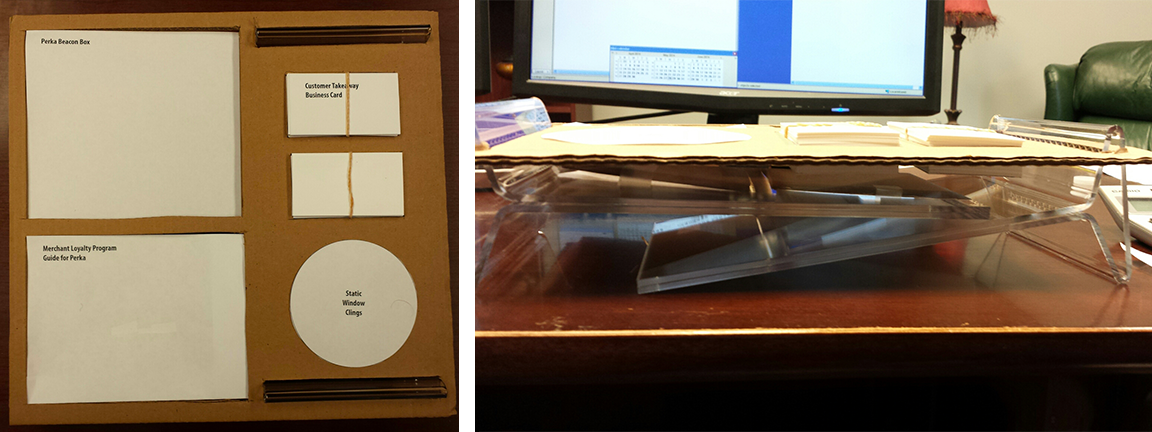
Box layout and paper prototypes
Shipment test
Due to the production schedule of the Perka Beacon, we needed to send out the initial run of the kits with a Beacon placeholder sticker. From a few test shipments, I discovered this open area in the box led to the Loyalty Guide shifting and getting lost under the tray, creating a less than ideal unboxing experience.
The printer and I iterated on a few rounds of fastening solutions, with the adhesive tape options leaving a visual residue on the guide cover.
Our final version, which included two repositionable glue dots on the back, worked well until the Beacon boxes were added.
UPDATES + REBRANDS
Evolution of the merchant welcome kit
As Perka changed to align more closely with Clover POS, I needed to update the Perka Welcome Kit to focus less on loyalty and more on how merchants can get started using the CRM features included with their Clover device.
2012 Perka quick start guide:
2016 Customer engagement mailer:
2014 Perka merchant welcome kit:
2019 Clover rebrand mailer:


